
Knowing how to set up a screen house tent sounds trivial until you watch a neighbor’s shelter cartwheel across the campground loop at 3 p.m. because nobody staked it. I have seen it twice, and both times the owner had the shelter up in under a minute. Speed was never the problem. Where they put it and how they tied it down was. This guide is the routine I now follow every time, whether I am pitching a hub hexagon at a state park or a spring-open screen room on my own deck.
Everything here comes from setting up the ten shelters I tested for my pop up screen tent buying guide, again and again, in calm mornings and gusty afternoons. They open in four different ways, so I cover each frame type separately, but the site selection and anchoring steps apply to all of them, and those are the steps that decide whether your shelter is still standing at dinner.
Where Should You Set Up a Screen House Tent?
You should set up a screen house tent on flat, durable ground at least 15 feet from any campfire, clear of dead overhanging branches, and positioned so the main door faces away from the prevailing wind. Picking the spot takes two minutes and prevents most of the problems people blame on the shelter itself.
Start with the ground. A screen house has no floor, so any slope or lump shows up as a gap under the skirt where bugs crawl in. Look for level grass, packed dirt, or a gravel pad. At a developed campground, use the established tent area or the space around the picnic table. Leave No Trace’s guidance to travel and camp on durable surfaces is useful here: good campsites are found, not made, so pick a spot that is already open rather than flattening vegetation.
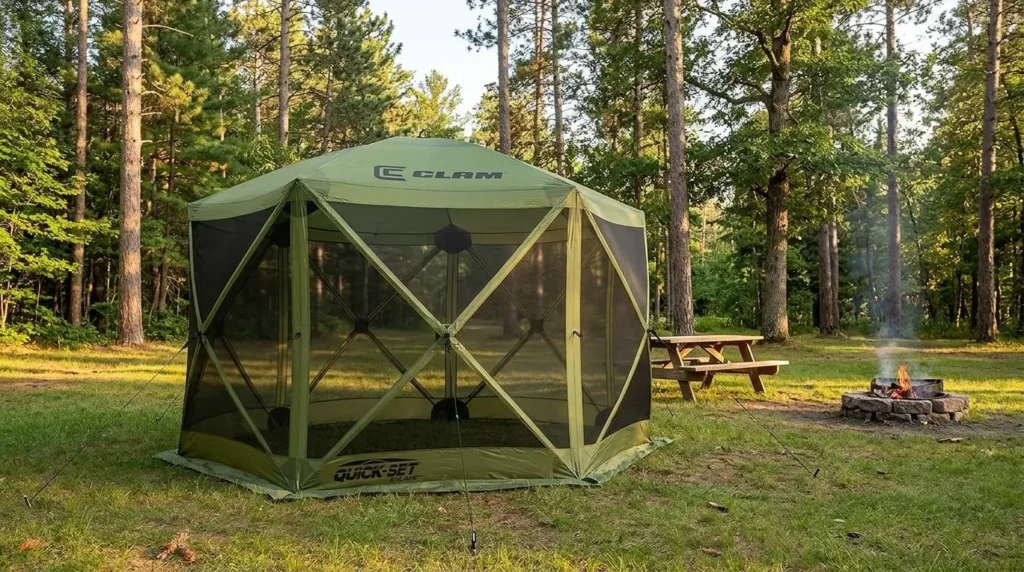
Next, look up. Dead limbs over a shelter are a real hazard in wind, and sap and bird droppings are a nuisance on any day. Then look around for fire. Recreation.gov’s campfire safety tips say campfires should be at least 15 feet from tent walls and other flammables and kept downwind of your gear. Screen house fabric and mesh are not fireproof, so I keep the fire ring well outside that distance and never set up downwind of it.
At home, there is one more check. If you will drive stakes into your lawn, the 811 program advises calling 811 before you stake a tent, ideally two to three business days ahead, so utility lines get marked. Most screen house stakes are short, but irrigation lines and shallow cables are common in backyards, and a free call beats a repair bill.
Finally, think about the sun and the door. I orient the door toward the picnic table or the camp kitchen, and I put the shelter where it will throw shade during the hours I plan to sit in it. A screen house in full afternoon sun can feel warm inside even with mesh walls, which is a point I cover in my camping in the summer guide.
What Should You Check Before You Set Up a Screen House Tent?
Before you set up a screen house tent, unpack the bag and confirm every anchor, pole, and add-on is there, because missing stakes or a forgotten door pole is the most common reason a setup stalls halfway. I lay everything on the open carry bag so nothing disappears into the grass.
Here is what came in the box with each shelter I tested, so you know what to look for:
| Shelter | Frame Type | Anchors and Extras in the Box |
|---|---|---|
| Clam Escape | 6-sided hub | Stakes, tie-down ropes, oversized carry bag |
| Clam Venture | 5-sided hub | Stakes, tie-down ropes, carry bag |
| Gazelle G6 | 6-sided hub | 6 guyline points, long carry bag |
| VEVOR 12×12 | 6-sided hub | Ground stakes, 5 guy ropes, 2 door frame poles, 6 wind cloths |
| Aoxun 12×12 | 6-sided hub | Ground stakes, guy ropes, door frame poles, 6 wind cloths |
| Alvantor | Spring-open | 6 sandbags, 12 guylines, 12 metal stakes |
| East Oak | Spring-open | 12 stakes, 6 guylines, 6 sandbags, 3 telescoping poles |
| Mars Explo | Spring-open | 12 stakes, 6 guylines, 2 telescoping poles |
| Coleman Skylodge | Telescoping legs | Guylines, carry bag |
| DMH Outdoors | Pole-built | Poles, 4 guylines, mud mats, projection screen |
Two things are worth adding to every kit. A rubber mallet makes staking in hard ground far easier, and a few spare stakes cover the ones that bend or vanish. I also carry a few longer ropes for windy sites, because the stock lines on most shelters run short once you angle the stakes properly.

Also check the weather before you open the bag. If a High Wind Watch is posted, the National Weather Service’s wind safety guidance is to secure loose outdoor items, and a shelter that is not up yet is the easiest one to keep secure. I postpone setup until the wind settles rather than wrestling an open frame.
If you also use a canopy, the routine is similar: my how to put up a pop up canopy tent guide covers the same check-first approach for straight-leg canopies.
How Do You Set Up a Hub-Style Screen House Tent?
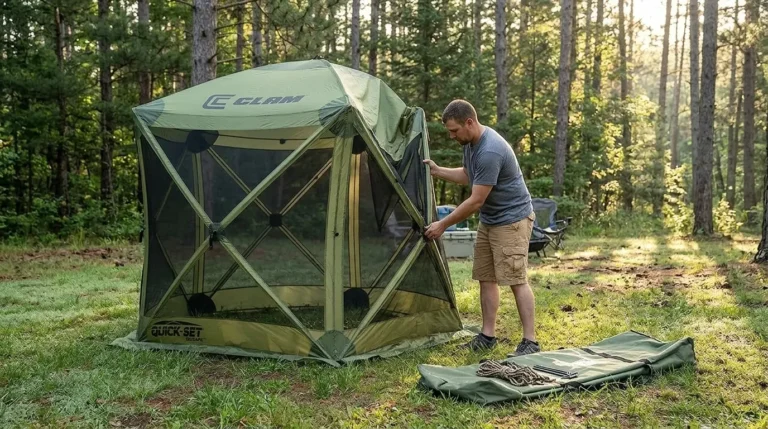
You set up a hub-style screen house tent by standing the folded shelter on its roof hub, letting it open like a flower, pulling each wall outward by its center handle until it pops into place, and then pushing the roof hub up from inside. It is the fastest method in this guide once you have done it twice.
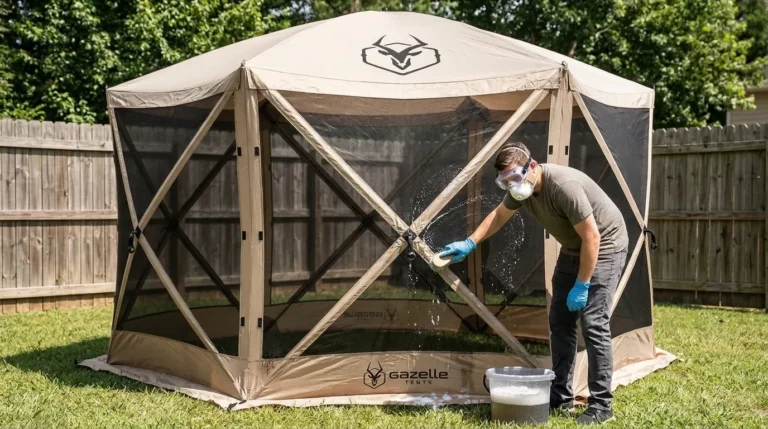
This is the method for the Clam Escape screen tent, the smaller Clam Venture screen tent, and the Gazelle G6:
- Unzip the bag, remove the shelter, and stand it on the center roof hub so the fabric sits upright.
- Open the bundle with the roof facing up and the poles on the inside.
- Reach for the handle at the center of one wall panel and pull it toward you until the wall pops out and locks.
- Repeat around the shelter, one wall at a time.
- Step inside through the door and push the roof center hub up until the roof stands fully erect.

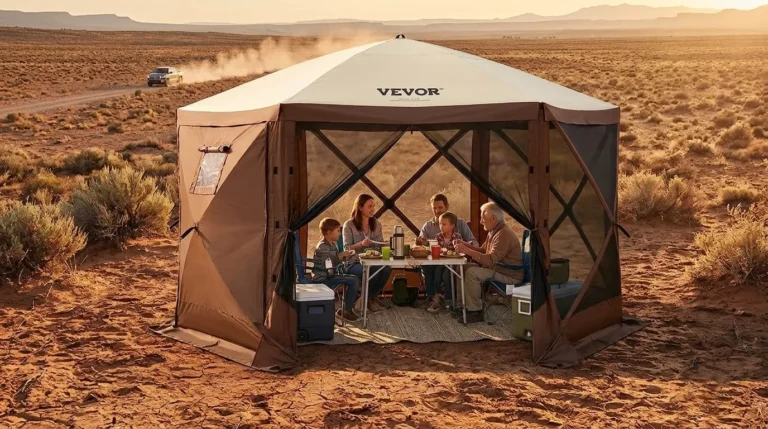
The two 12×12 hexagons, the Vevor screen tent and the Aoxun gazebo, follow the same pull-the-hub-strap routine with two extra steps. After the walls and roof are up, you install the two door frame poles and fasten them with the attached straps or ties, which keeps the door opening square. Then, if you want privacy or wind protection, you zip on the six included wind cloths.
The most common first-time mistake is trying to pull the walls out before the roof is facing the right way. If the poles are on the outside of the fabric, close it back up and flip it over. Another is pulling the plastic hub itself rather than the fabric handle; the handle spreads the load across the hub joint, while yanking the plastic can crack it.
On a breezy day, stake the windward side before you pop out the last few walls. A half-open hub shelter catches air surprisingly well, and pinning one side down first keeps it from walking off.
How Do You Set Up a Spring-Open Screen House Tent?
You set up a spring-open screen house tent by removing the elastic bands, letting the frame expand on its own away from your body, then inserting any support poles and anchoring every corner before anyone goes inside. The opening takes seconds; the anchoring is where your time should go.
This covers the Alvantor screen house, the East Oak screen house tent pop up, and the Mars Explo:
- Take the folded disc out of its round bag and hold it at arm’s length, pointed away from your face.
- Release the elastic bands and let go. The frame will spring open into shape.
- Walk around and straighten any corners or panels that did not fully expand.
- Fit the telescoping support poles if your model includes them; the East Oak comes with three and the Mars Explo with two.
- Stake every loop, attach the guylines, and add sandbags on surfaces where stakes will not go.
Spring frames are light, which is great for carrying and risky in wind. Alvantor itself tells owners to set the tent up completely, pull the guylines, and use the stakes and sandbags, and it advises against use once wind reaches 24 to 30.8 mph. East Oak and Mars Explo carry similar wind warnings. Treat every guyline loop as mandatory, not optional.
On a deck or patio, sandbags replace stakes. Fill them with sand or gravel, set one at each corner on the inside skirt, and tie the guylines to heavy furniture legs or deck posts where possible. Never leave a spring-open room unanchored overnight; it is the type most likely to tumble across a yard on its own.
How Do You Set Up a Telescoping or Pole-Built Screen House Tent?
You set up a telescoping screen house tent by spreading the folded frame, lifting it, and extending each leg until it clicks, while a pole-built screen house tent goes up by threading or seating fiberglass poles into the body before raising it. Both take a bit longer than hub or spring frames, but both give you straighter walls.
For the Coleman Skylodge portable screenhouse, I follow this order:
- Take the frame out of the bag and stand it upright with the canopy attached.
- Walk the frame outward from opposite sides until the scissor sections open fully.
- Lift one side and extend two legs partway, then repeat on the other side so the frame rises evenly.
- Press the pinch-free buttons and raise each leg to full height until it clicks.
- Stake the guylines at the corners.
Coleman notes that its one-minute setup time is based on average use and that the first setup can take longer, which matched my experience. The first time took several minutes; by the third it was quick.
The DMH Outdoors tent is the one shelter here that is not a pop-up. You assemble the shock-corded fiberglass poles, seat their ends in the joint protectors, and raise the arched roof over the 13×9 body. Two people make it much easier. Once it stands, attach the reflective guy ropes, lay the detachable mud mats at both magnetic doors, and hang the projection screen if you plan a movie night.
The key mistake to avoid on pole-built shelters is forcing a pole that binds. Back it out, check that every section is fully seated, and try again; bent fiberglass is not repairable on the trail.
How Do You Anchor a Screen House Tent So It Stays Put?
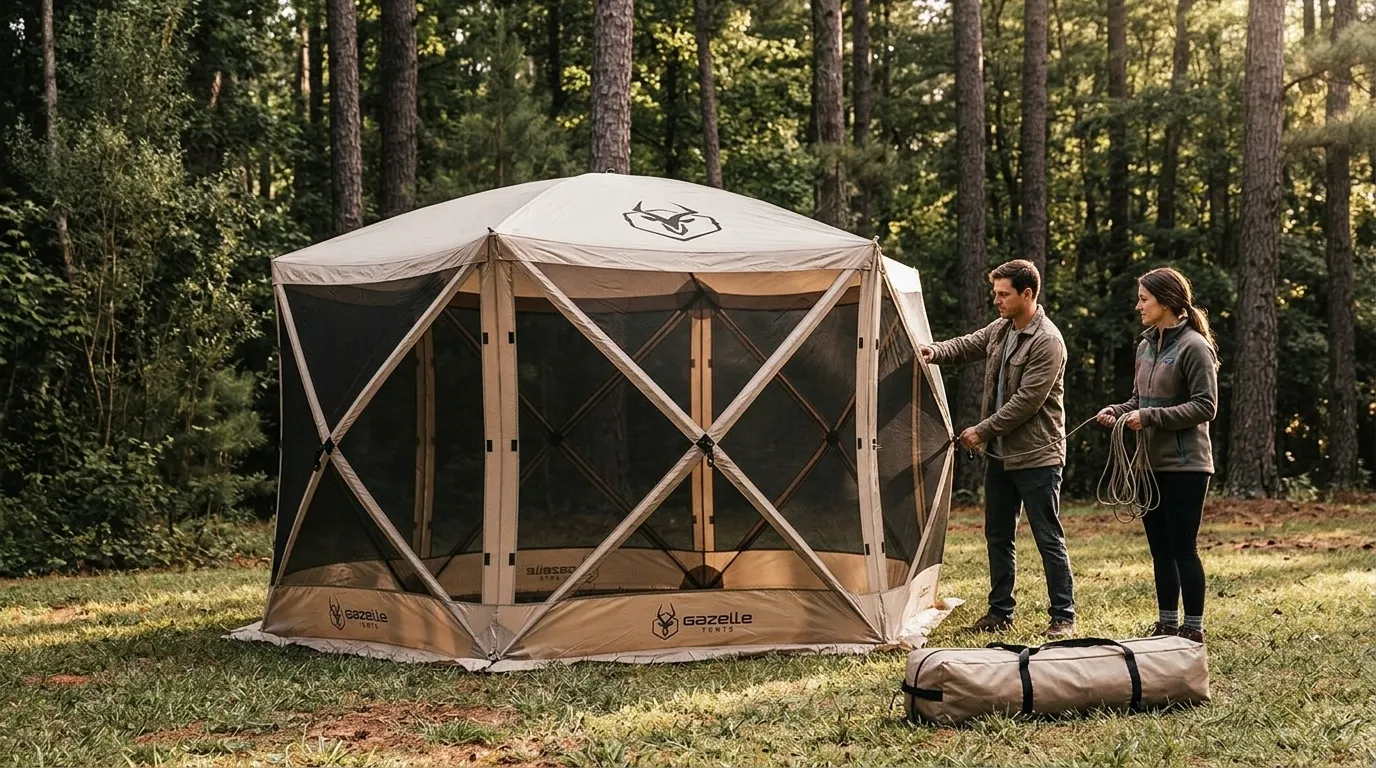
You anchor a screen house tent by staking every skirt loop, running a guyline from the center of each wall out three to four feet to a stake driven at an angle away from the shelter, and adding sandbags or heavy weights wherever stakes cannot go. Anchoring is the step that separates a shelter that lasts all weekend from one that ends up in the next site.
Clam’s own instructions show the guyline running from the eyelet at the center of each panel to a stake roughly three to four feet out, and that distance works well for every hub shelter I tested. Drive stakes at about a 45-degree angle, leaning away from the tent, so the rope pulls against the soil instead of straight up.
| Surface | Best Anchor | Tip |
|---|---|---|
| Grass or soft dirt | Standard stakes plus guylines | Angle stakes away from the shelter |
| Hard or rocky ground | Heavy-duty stakes and a mallet | Pre-drill with a large nail if needed |
| Sand | Sandbags or long sand stakes | Bury bags partly for extra grip |
| Deck or patio | Filled sandbags, weights, or ties to posts | Never drill into a rented site deck |
Wind cloths change the math. The moment you zip solid panels onto the VEVOR or Aoxun, or add Clam’s or Gazelle’s optional panels, the shelter catches far more wind. I always run every guyline before adding panels, never after.
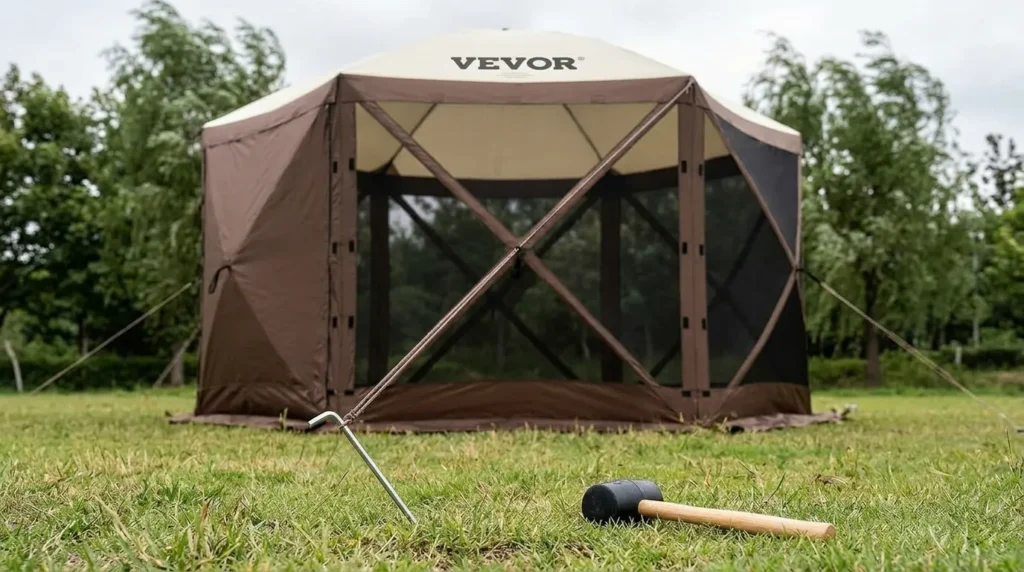
Re-check tension after an hour. Guylines loosen as fabric settles and ground softens, especially after rain. A quick lap with the mallet before dinner takes a minute and prevents the slow sag that lets a gust get under the roof.
How to Set Up a Screen House Tent FAQ
How long does it take to set up a screen house tent?
The shelter itself takes about one to two minutes for hub-style and spring-open designs once you know the routine, while telescoping and pole-built screen houses take longer. Add another five to ten minutes for stakes, guylines, sandbags, and any wind cloths or door poles. Your first setup will always run slower, so practice once at home before the trip so the anchoring steps feel automatic at the campsite.
Can one person set up a screen house tent?
Yes. Every hub-style and spring-open shelter in our hub is designed for one person, and the Coleman’s telescoping frame is manageable solo too. The large 12×12 hexagons and the pole-built DMH go faster with a second pair of hands, mostly for holding the frame steady while you stake. If you are alone in wind, stake the windward side first so the shelter cannot drift while you work.
Do I need to stake a screen house tent if there is no wind?
Yes, always anchor it. Afternoon breezes and storm outflow winds can arrive with little warning, and an unstaked screen house can lift and tumble in a single gust. Staking also seals the skirt to the ground, which keeps crawling bugs out. On decks and patios, use the included sandbags or tie the guylines to heavy objects instead of skipping anchors.
Can I set up a screen house tent over a picnic table?
Yes, as long as the footprint is large enough. Hub shelters around 11.5 to 12 feet across fit over a standard picnic table with walking room, while 9×9 and 10×10 models are a tighter squeeze around the benches. Set the shelter up next to the table first, then walk it over and stake it, or open it directly over the table if the frame type allows.
Is it safe to use a lantern inside a screen house tent?
Use battery-powered lanterns only. Maine’s State Fire Marshal guidance on tent safety is to use only battery-powered flashlights or lanterns inside tents and enclosed spaces and to keep liquid-fuel heaters and lanterns out of them. Several shelters in our hub include a hook at the roof center that is perfect for hanging a battery lantern.
Helpful Guides
- How to Fold a Pop Up Screen Tent
- Do Screen House Tents Let Dust In?
- How to Clean Mold from a Tent Screen
- How Durable Are Pop-Up Canopy Tents in Severe Weather
What Is the Simplest Checklist for Setting Up a Screen House Tent?
The simplest checklist for how to set up a screen house tent is site, check, open, anchor, recheck. Pick level ground away from the fire and dead branches, check the forecast and unpack every part, open the frame with the method for your type, anchor every wall before adding panels, and recheck tension after an hour.
If you are still shopping, setup style is one of the biggest differences between shelters. Hub frames are the most stable once staked, spring-open rooms are the lightest to carry, and pole-built rectangles give you the most usable space for a crowd. My best pop up screen tents guide compares all ten on exactly those points.
Follow this routine on every trip and your screen house will do its one job well: keep the bugs out and the shade on while you enjoy camp. For a deeper look at any single shelter, the pop up screen tent reviews hub links to every full review.