Finding mold on your tent can feel like the beginning of the end for that piece of gear. The good news is that learning how to clean a tent with mold is straightforward once you understand what’s actually happening to the fabric and coatings.
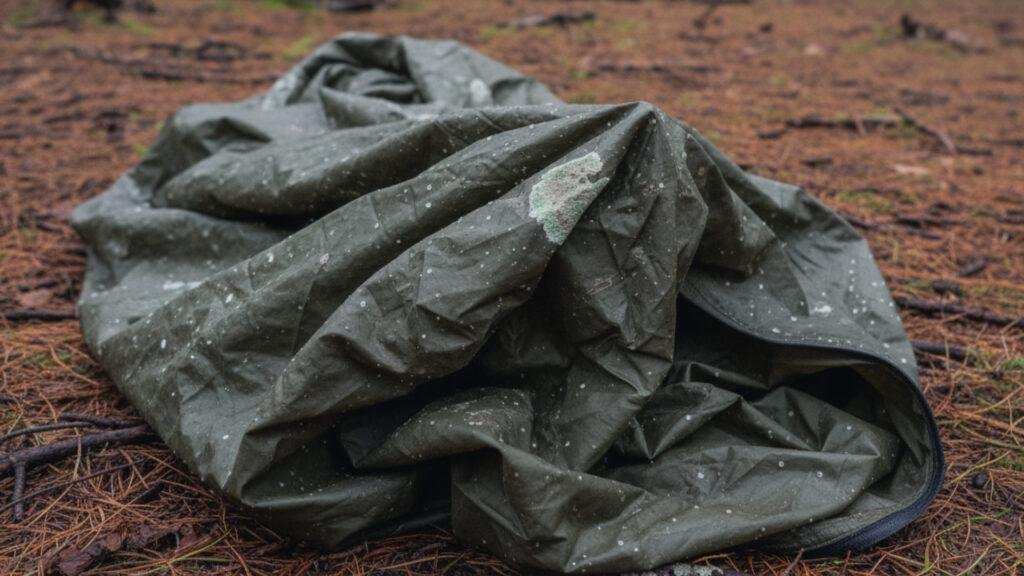
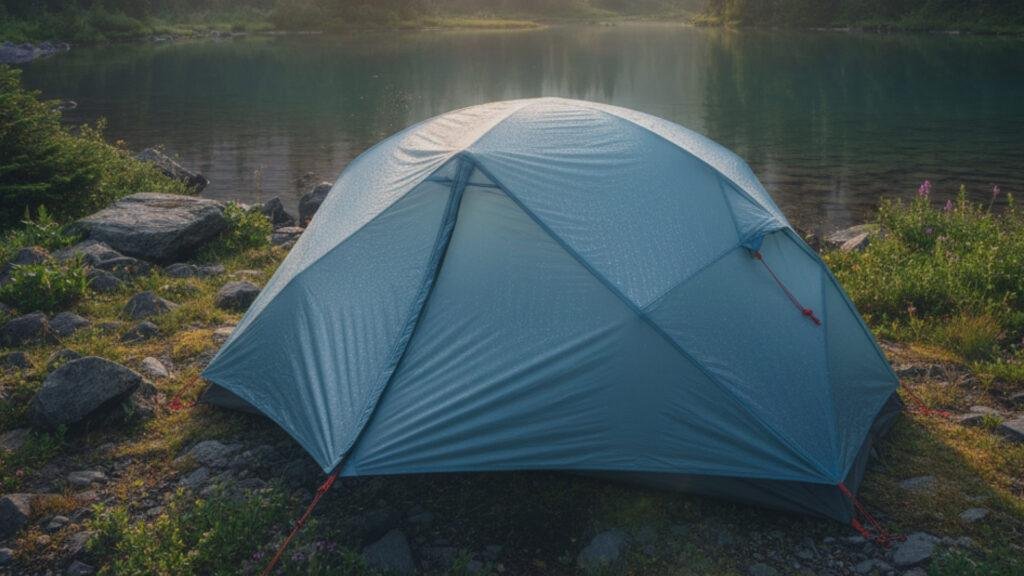
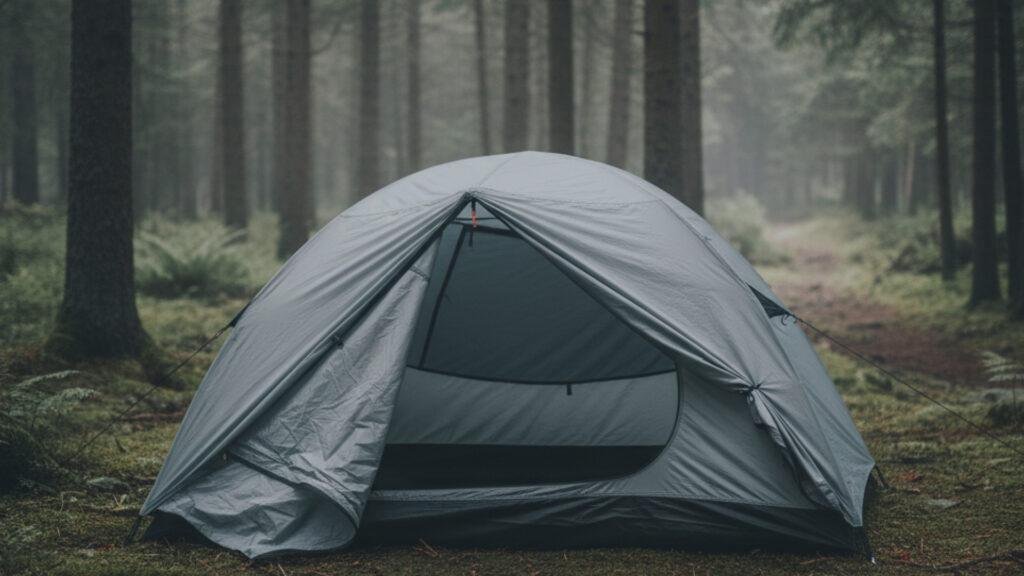
Mold usually appears after ordinary camping moments: packing up in the rain, rolling a tent while it’s still damp with morning dew, or storing it in a warm place where moisture never really had a chance to escape.
I’ve run into this more than a few times while testing different shelters, and it always starts the same way: small spots, a faint musty smell, and the worry that the tent might be ruined. In most cases, it isn’t.
With proper tent maintenance, careful cleaning, patient drying, and a bit of prevention afterward, you can usually bring a mold-affected tent back into reliable service.
In this how to clean a tent with mold guide, we’ll go step by step: when it’s safe to clean, what you need before you start, how to use gentle methods that protect the fabric, what to avoid, and how to keep mold from returning to camping tents.
The goal is simple: help you salvage your tent safely and extend its lifespan, without guessing or taking risks with harsh chemicals.
Is It Safe to Clean a Tent With Mold?
Mold on a tent always looks worse than it really is, and the first question most people ask is whether it’s even safe to clean. In most situations, yes, it’s safe. As long as you handle it properly and understand when a tent can be salvaged versus when it’s better to replace it.
Mild mold appears as small clusters of dots, usually gray, green, or light brown. This level is almost always treatable with gentle cleaning, fresh air, and proper drying. The fabric coating is usually still intact, and the issue is more about moisture exposure than permanent damage.
More severe mold, however, can look fuzzy, black, or widespread. In these cases, the tent may already have damage to its waterproof coating or seams, and cleaning becomes more about reducing risk rather than restoring the tent to perfect condition.
It’s also worth recognizing the health side. Mold spores can irritate your lungs, eyes, and skin, especially when disturbed during cleaning. That’s why this is one of those tasks that’s best done outdoors with good airflow. Wearing simple protection like gloves and a mask is often enough for casual cases.
But if you ever notice the spreading mold on tent fabric (both sides), producing a strong odor, or showing clear structural damage, the safer option is replacing the tent instead of continuing to use it.
If you’re unsure what level of exposure is safe, guidelines from the CDC and EPA outline general mold-handling precautions for non-porous materials, which apply well to tent fabrics too.
For most campers and most situations, mold is manageable, but the key is knowing when it’s worth saving and when it’s time to move on.
If you want a clearer picture of common risks and how to manage them outdoors, my guide Is Tent Camping Safe breaks it down in simple terms.
What You Need Before You Start
Cleaning a tent with mold is much easier (and safer) when you gather the right tools before you begin. Most of these items are inexpensive or things you likely already have in your camping kit or around the house.
The goal here is simple: protect your health, avoid damaging the tent’s coatings, and make the cleaning process as efficient as possible.
Start with basic protection. A lightweight mask and a pair of gloves help prevent irritation from disturbed mold spores, especially when brushing or rinsing problem areas.
You’ll also want a soft-bristle brush, a microfiber cloth, and a bucket of lukewarm water mixed with non-detergent soap. This type of soap cleans tent fabrics without harming waterproof coatings, which is critical if you plan to continue using the tent in wet weather.
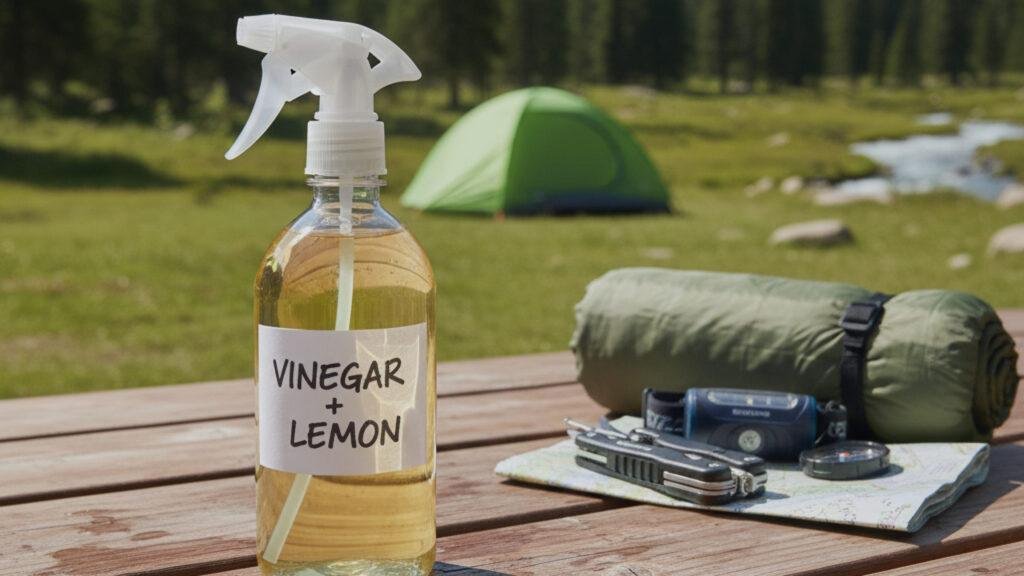
For natural tent mold removal, keep white vinegar and lemon juice on hand. These mild solutions are surprisingly effective for breaking down mold without resorting to harsh chemicals.
If you’re dealing with heavier growth, an enzyme cleaner designed for outdoor gear can lift mold from coated fabrics without damaging them.
It’s best to do all cleaning outside where airflow is natural. Mold cleanup indoors spreads spores and traps moisture, two things we want to avoid entirely. You’ll also want a clean patch of open space so you can fully stretch out the tent and inspect every seam, corner, and section of mesh.
If you frequently pack gear for camping, many of these tools overlap with items from your general camping checklist. Having them readily available makes the whole process much easier.
Most of these tent cleaning items are small and lightweight, so you can keep them in your regular gear bin. If you’re building out your essentials from scratch, here’s a full breakdown of what to pack when camping to make sure you’re always prepared.
Step-by-Step: How to Clean a Tent With Mold (Effective Methods)
1. Pre-Clean Inspection
Before you start scrubbing anything, take a moment to fully inspect the tent. This step helps you understand what type of mold you’re dealing with, how far it has spread, and whether the tent is still worth saving.
Spread the tent out in a bright, open space; sunlight helps you spot discoloration, and fresh air keeps mold spores from lingering around you.
Begin by checking common moisture zones: corners, floor edges, areas under sleeping pads, and sections where the rainfly touches the inner tent. Mold tends to form in these spots first.
Light mold usually appears as clusters of small specks: gray, green, brown, or slightly fuzzy. In most cases, this level is easy to treat. If you see large patches, black spots that feel textured, or mold growing through both sides of the fabric, that indicates deeper penetration and possible coating damage.
Pay special attention to the tent seams and mesh. Seams trap moisture, and mesh can hold spores more stubbornly than coated fabric. If the mold has started to weaken any stitching or has caused peeling of waterproof coatings, note those areas; they might need separate repair or replacement later.
As you inspect, gently brush away loose debris with a dry, soft brush. This doesn’t clean the mold but prepares the tent for wet cleaning by removing dirt and dust that can interfere with the process. A quick moment here saves time later and helps ensure that cleaning solutions work effectively.
When you’re finished, you should have a clear picture of what you’re dealing with: light, treatable mold (most cases), moderate mold that needs deeper cleaning, or severe mold where replacing the tent may be smarter.
Small maintenance steps like these play a big role in comfort during trips, something I explain more in How to make tent camping more comfortable post.
2. Basic Cleaning (Mild Cases)
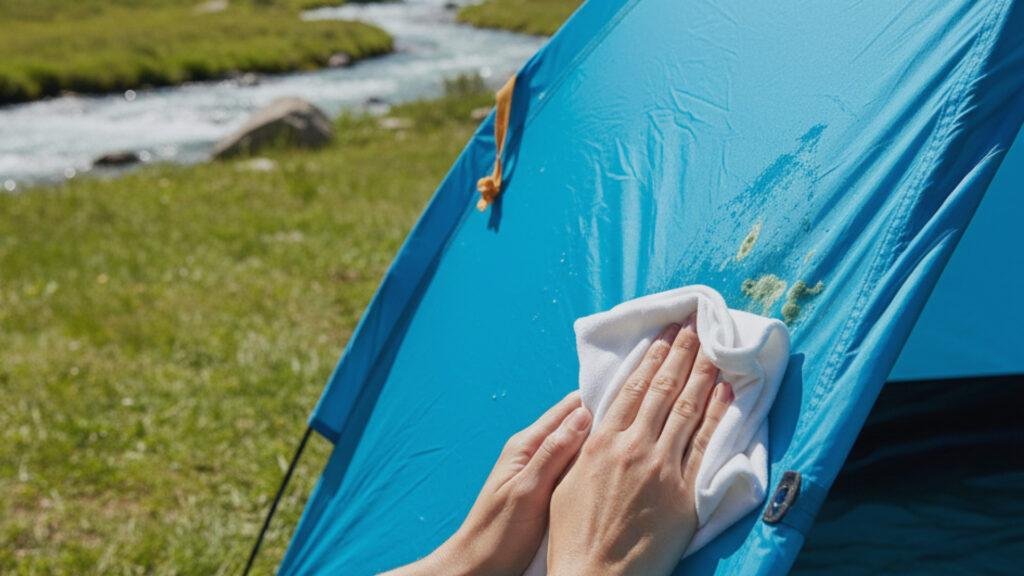
If your tent only has light mold spots, a simple cleaning routine is usually enough to restore it. Start by laying the tent on a clean surface outdoors, grass or a clean tarp works well. Fresh air keeps spores dispersed, and natural light helps you see the affected areas clearly.
Begin with a soft brush or cloth to gently loosen surface mold. Avoid scrubbing hard at this stage since aggressive pressure can damage waterproof coatings.
Once loose particles are removed, mix a small amount of non-detergent soap with lukewarm water. This type of soap cleans without stripping away protective treatments that keep your tent dry in the field.
Dip a soft cloth or sponge in the soapy solution and lightly work it into the mold-affected areas using circular motions. You don’t need much pressure, just enough to lift the mold from the surface.
Rinse immediately with clean water to prevent soap residue from drying on the fabric. Residue can reduce breathability and attract dirt, which leads to future moisture issues.
Next, gently blot the cleaned spots with a dry cloth to absorb excess moisture. This helps prevent water from settling into seams and corners. If the tent still shows faint marks, don’t worry, that’s normal after mild mold cleaning.
What matters is removing the spores, not achieving a perfect cosmetic appearance. The sunlight and later steps in this process often remove any remaining discoloration.
Finally, always let the tent dry completely before moving on. Even a slightly damp spot can undo your cleaning work, so give it plenty of airflow and time to breathe.
Some tents handle moisture better than others. The Coleman Sundome is a good example with its weather-resistant materials. If you’re curious, here’s my full look at the Coleman Sundome 4 person tent and how it performs in damp conditions.
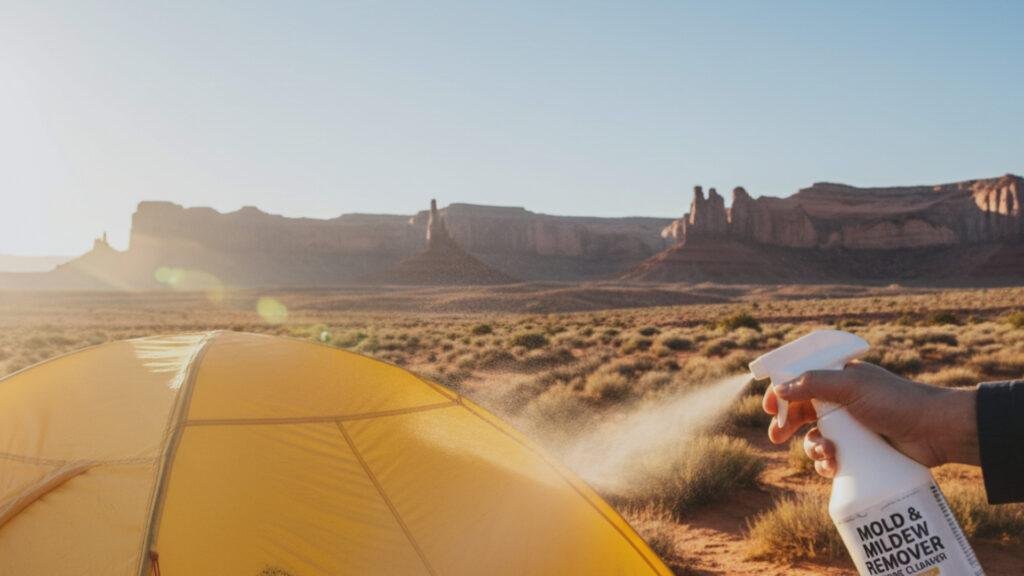
3. Using Vinegar & Lemon Juice (Natural Mold Killers)
When basic soap and water aren’t enough, natural cleaners like white vinegar and lemon juice can break down stubborn mold without damaging the tent’s coatings. These mild acids are safe for most outdoor fabrics and are far less risky than bleach or harsh detergents, which can ruin the tent’s waterproofing.
Start with a simple mixture: one part white vinegar to one part water. Pour it into a spray bottle so you can apply it evenly. Lightly saturate the mold-affected areas, allowing the solution to soak into the fabric for about 15-20 minutes.
This dwell time is important. Vinegar needs a moment to break down the mold cells. Afterward, gently scrub with a soft brush or cloth, using small circular motions. Avoid any stiff-bristle tools that could damage coated surfaces.
For tougher spots, sprinkle a little lemon juice directly onto the area. Lemon’s natural acidity boosts the cleaning power and helps neutralize musty odors. Some campers even mix lemon juice with a bit of salt to create a gentle abrasive paste.
This should be used sparingly and only on durable spots like floor fabric, not on thin mesh or silicone-coated sections.
Once you’ve lifted the mold, rinse the fabric thoroughly with clean water. This step is essential because any leftover acid can weaken the material over time. After rinsing, blot with a clean cloth to remove excess moisture.
Place the tent in a bright, well-ventilated area to dry completely. Vinegar has a strong smell at first, but it fades quickly as the tent dries, leaving the fabric clean and neutral.
Ultralight tents use thin coatings that react differently to cleaners. If you want to know how the fabric holds up in real conditions, check out my Naturehike Cloud Up 2 review.
4. Deep Cleaning With Enzyme Cleaners
If mold persists even after natural cleaning methods, enzyme-based cleaners are the next step. These products are specifically designed for tent care, to break down organic material without harming outdoor fabrics or waterproof coatings, making them a much safer choice than bleach or harsh detergents.
Start by selecting an enzyme cleaner intended for technical gear or outdoor fabrics. General household enzyme cleaners often work, but it’s best to choose one labeled safe for nylon, polyester, and PU-coated materials. Always read the label first to ensure compatibility.
Dilute the cleaner according to the instructions. Enzymes are powerful, so the right ratio matters. Apply the solution to the mold-affected areas using a sponge or spray bottle, making sure the fabric becomes damp rather than fully soaked.
Allow the cleaner to sit for the recommended amount of time, usually 15-30 minutes. Enzymes need this dwell period to break down the mold structure effectively.
Gently scrub the treated areas with a soft brush, focusing on stubborn patches but avoiding unnecessary pressure around thin seams and mesh.
Once the mold begins to lift, rinse the tent thoroughly with clean water. Enzyme residue left behind can attract dirt or cause mild discoloration over time, so a full rinse is important.
If your tent still shows signs of mold after this deep clean, you can repeat the process once more. However, if the mold remains deeply embedded or the coating has started peeling, it may indicate damage that cleaning alone can’t fix.
Lay the tent out to dry completely in a shaded but breezy area. Complete drying is essential; if any moisture lingers, mold can begin forming again much sooner than expected.
5. Sun-Drying the Tent
Once your tent is cleaned, proper drying is one of the most important steps in preventing mold from returning. Sunlight can help kill remaining spores, but too much exposure can weaken tent fabrics and coatings.
So the key here is controlled drying rather than leaving it out all day.
Start by spreading the tent out fully in a bright, ventilated area. Morning or late-afternoon sun is ideal because UV rays are less intense. A gentle breeze is incredibly helpful. It moves moisture out of seams, corners, and folds where dampness often lingers.
Shake the tent lightly to release any water trapped between layers and make sure the doors and vents are unzipped so airflow can reach the interior.
Aim to sun-dry the tent for about 20-40 minutes. This gives you enough UV exposure to neutralize any remaining mold spores without risking long-term UV damage to coatings.
After that window, move the tent to a shaded, well-ventilated spot so it can finish drying naturally. Flip it occasionally to ensure both sides dry evenly.
Pay close attention to the floor, inside corners, and the area where the rainfly touches the tent body. These spots hold moisture longer than you might expect. If the rainfly was also affected by mold, dry it separately to prevent moisture transfer.
Before you pack the tent away, run your hand across the fabric. If it feels even slightly cool or damp, give it more time. A few extra minutes of drying can make the difference between a fresh tent and mold returning weeks later.
6. Treating Persistent Odors
Even after the mold is gone, a musty smell can linger in the tent fabric. This is normal and happens because odors cling to coatings and seams more stubbornly than visible mold does.
Fortunately, removing these smells doesn’t require harsh products, just patience and a few simple treatments.
Start by mixing a mild baking soda solution: one tablespoon of baking soda dissolved in a full spray bottle of warm water. Lightly mist the interior and exterior of the tent, focusing on areas where the odor is strongest.
Baking soda helps neutralize lingering smells without affecting waterproof coatings. Let the solution sit for 10-15 minutes, then gently wipe the fabric with a clean cloth to remove excess residue.
If you prefer a natural option, a diluted lemon-water spray works too. Lemon helps break down odor-causing compounds and leaves a clean, neutral scent behind. Just ensure you rinse afterward to avoid sticky residue.
Next, hang the tent in a breezy, shaded area and let it air out for several hours. Sometimes, a simple long airing session is enough to release odors trapped in fabric layers.
Avoid leaving the tent in full sun for extended periods; UV rays help with cleaning but can damage fabric when overdone.
For stubborn odors, sprinkle a small amount of dry baking soda inside the tent, close it, and leave it overnight. In the morning, shake or vacuum it out. This method works particularly well for tents that stored moisture for long periods.
Odor removal is often the final step that brings a tent fully back to life. Once the smell is gone, the tent will feel fresh and ready for future trips.
What NOT to Do When Cleaning a Tent With Mold
Cleaning mold off a tent requires a careful approach. The right tent maintenance techniques can restore your tent safely, but the wrong ones can permanently damage fabrics, coatings, and seams. Here are the most common mistakes to avoid:
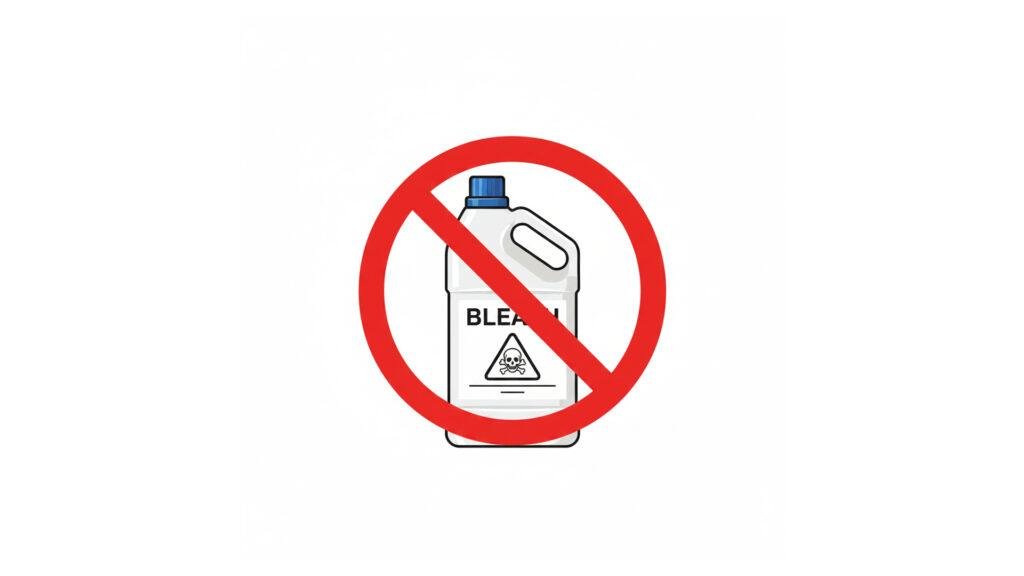
1. Don’t use bleach.
Bleach is extremely harsh on tent materials. It breaks down waterproof coatings, weakens fibers, and can create brittle patches that tear under tension. Even diluted bleach can ruin nylon and polyester, leaving the tent more vulnerable to moisture than before.
2. Avoid strong detergents or household cleaners.
Regular soaps, dish detergents, and multi-purpose cleaners strip away protective coatings. They also leave residue that attracts dirt and moisture, two things that lead back to mold.
3. Never use a pressure washer.
Even on the lowest setting, pressure washers can force water into seams and coatings, causing delamination and leaks. They also distort fabric shape and damage mesh panels.
4. Don’t scrub aggressively.
Hard scrubbing may feel effective, but it can wear down coated areas, stretch mesh, or fuzz up the fabric surface. Always use a soft brush and light pressure.
5. Avoid hot water.
High heat can damage seam tape and coatings. Stick to cool or lukewarm water for all cleaning steps.
6. Don’t dry the tent in full midday sun for hours.
Short bursts of sunlight are helpful, but prolonged UV exposure breaks down fabrics over time. Use partial sun followed by shade drying instead.
Following these precautions helps ensure the cleaning process fixes the mold issue without causing new problems.
Heavier dome tents like the Coleman Skydome rely on coated fabrics that can peel if exposed to harsh cleaners. If you want to understand its material quality better, here’s my in-depth review of the Coleman Skydome 6 person tent.
How to Prevent Mold From Returning
Preventing mold is easier than removing it, and a few simple habits can keep your tent fresh for years. Mold thrives on moisture, warmth, and poor airflow, so the goal is to control these three factors every time you camp and pack up your gear.
1. Proper Drying Techniques
Always dry your tent fully before packing it away, even if you’re short on time. Moisture from rain, dew, or overnight condensation can cling to corners, seams, and the underside of the floor.
Shake off excess water in the morning, spread the tent open, and let it air out. If you’re packing up in bad weather, dry the tent again at home as soon as possible before storing it long-term.
Large tent setups collect moisture fast if not aired out properly. You can read more about that in my review of the Core 9 person instant cabin tent.
2. Storing Your Tent Correctly
Avoid long-term storage in the tight compression sack that comes with most tents. Compression is great for travel but terrible for airflow and moisture release.
For storage, use a large breathable bag or pillowcase and keep the tent in a cool, dry place. This prevents trapped dampness and gives coatings space to breathe.
Good gear storage is actually part of planning a smoother trip. If you want a step-by-step guide to organizing your next outing, here’s how to plan a camping trip the right way.
3. Using a Tent Footprint
Footprints help keep moisture from soaking into the base of your tent. Wet ground is one of the most common causes of mold buildup, especially when packing up quickly.
A footprint creates a clean, dry barrier and reduces how much moisture the floor fabric absorbs.
4. Regular Maintenance Schedule
Quick checks after every trip help you catch small issues before they become big problems. Inspect seam tape for peeling, reapply waterproofing when needed, and open vents during humid weather.
Regular maintenance prevents small moisture problems from becoming mold infestations later.
Following these steps builds a solid routine that keeps your tent clean, dry, and ready for any camping trip.
Can Mold on a Tent Make You Sick?
Mold on a tent isn’t just a cosmetic issue. It can affect your health, especially if you’re sensitive to spores or already dealing with allergies.
When mold grows on tent fabric, it releases tiny particles into the air. These particles can become airborne when you shake, brush, or even unzip the tent, making it easy to inhale them without realizing it.
Mild exposure usually leads to temporary irritation: sneezing, coughing, itchy eyes, or a scratchy throat. For most campers, these symptoms fade quickly once they’re out of the contaminated environment.
But for people with asthma, allergies, or mold sensitivities, reactions can be stronger and may include headaches, fatigue, or difficulty breathing.
The good news is that mold on tents is typically surface-level and far less aggressive than what you’d find in indoor environments. As long as you clean it outdoors and use proper safety steps, the risk stays low.
Wearing a mask and gloves while cleaning helps protect you from direct exposure, and good airflow prevents spores from lingering in your workspace.
If the mold smell is extremely strong or you begin to feel irritation as soon as you open the tent, that’s a sign the contamination is deeper. In those cases, cleaning can help, but it may be safer to retire the tent, especially if symptoms appear during or after use.
Mold isn’t the only comfort issue. Cold nights can be just as rough. If you’re preparing for chilly conditions, here’s my guide on how to stay warm camping in a tent.
When Should You Replace a Moldy Tent?
Not every moldy tent can be saved. Some reach a point where cleaning isn’t enough, and continuing to use the tent becomes impractical or even unsafe. Knowing when to retire a mold-contaminated tent helps you avoid wasted effort and ensures you always have a reliable shelter outdoors.
Start by checking the integrity of the waterproof coatings. If you notice peeling, flaking, or a sticky texture on the tent floor or rainfly, mold has likely penetrated deep into the PU coating. Once this layer begins breaking down, cleaning won’t restore its performance, and water will eventually seep through during wet conditions.
Next, inspect the seams and mesh panels. Mold around seam tape can weaken adhesives and cause peeling, making those areas vulnerable to leaks. If the mesh shows signs of brittleness, discoloration, or tearing caused by mold growth, replacement is the better option. Mesh is difficult to restore once damaged.
Strong, lingering odors are another sign the tent may be past saving. If the smell remains even after deep cleaning, thorough rinsing, sun-drying, and odor treatments, the mold has likely permeated the fabric in ways that can’t be reversed.
Consider how much mold is present. Large, dark patches or mold growing through both sides of the fabric suggest deep contamination. In such cases, continued use poses health risks and reduces the tent’s performance in unpredictable ways.
A simple guideline:
- Small patches + intact coatings = Clean and keep.
- Strong odor + coating damage + large patches = Replace.
If replacement becomes necessary, consider upgrading to a more mold-resistant tent or one with faster-drying fabrics to prevent similar issues in the future.
If the mold has eaten through the waterproof coating, no amount of scrubbing will save it. It might be time to replace it with one of the best camping tents from our latest tests.
FAQs
No. Bleach breaks down waterproof coatings and weakens nylon and polyester fibers. Even diluted bleach can leave your tent brittle and more prone to tearing. Stick to mild soap, vinegar, lemon juice, or enzyme cleaners instead.
Black mold is more stubborn than light surface mold. Start with vinegar or an enzyme cleaner and give it enough dwell time before lightly scrubbing. If the patch is large, deep, or shows coating damage, the tent may not be fully salvageable.
It can if the tent isn’t dried completely or stored in a damp place. Make sure the tent dries fully after cleaning, especially seams and corners, and store it loosely in a breathable bag.
Short, controlled sunlight exposure for about 20-40 minutes is ideal. This helps neutralize leftover spores without exposing the fabric to damaging UV rays. Finish drying the tent in a shaded, breezy area.
No. Washing machines stretch fabrics, damage mesh, stress seams, and destroy coatings. Always clean your tent by hand using gentle pressure and mild cleaners.
Yes. Mold can slowly break down PU coatings, leaving them tacky, flaky, or weakened. If you notice coating failure, cleaning won’t fix it. You’ll need to recoat the fabric or consider replacing the tent.
Use a soft brush with diluted vinegar or an enzyme cleaner and gently work it along the seam line. Rinse well and make sure the seam dries completely; seams hold moisture longer than flat fabric.
Stretch it out in a breezy, shaded area and open all doors and vents. Airflow does most of the drying. Sun is helpful in small doses, but airflow is what finishes the job quickly and safely.
Wrapping Up
Cleaning a tent with mold can feel intimidating at first, but with the right methods and a little patience, most tents can be restored safely. The key is to work gently, choose the right cleaners for the situation, and give your tent plenty of airflow throughout the process.
Once the mold is gone and the fabric is fully dry, you’ll have a tent that’s ready for many more trips, often with no lingering signs of the problem.
A little maintenance now saves a lot of hassle later, and it keeps your shelter dependable no matter where your next trip takes you.
Hope this how to clean a tent with mold guide helped you understand the issues better and showed you the right ways.
For broader planning and prep, check out the Blog page. Camped Too Hard is a place to explore gear reviews, tent maintenance, and all things tent camping.